Introduction:
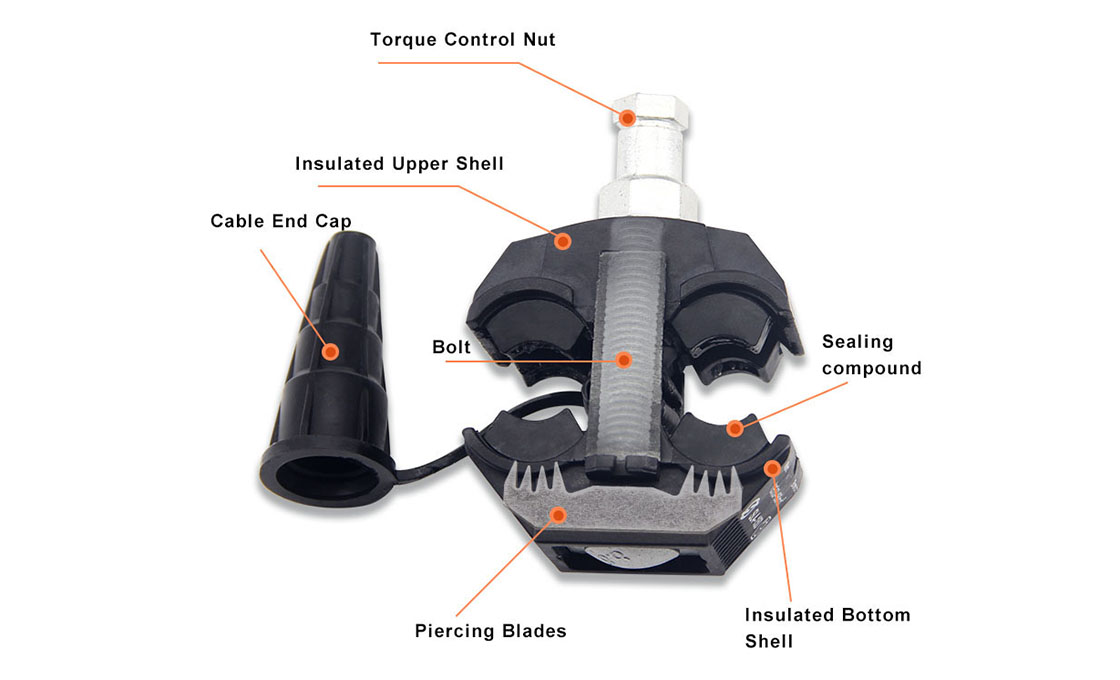
The insulation piercing clamp is mainly composed of reinforced shell, piercing blade, gasket, waterproof silicone grease, high-strength bolt, torque nut and cable terminal cap cover. When the cable needs to be branched or connected, the cable branch line terminal is inserted into the waterproof terminal Cap cover, after determining the branch position of the main line, use a socket wrench to twist the torque nut on the clamp. During the process, the contact blade will pierce the cable insulation layer and contact the conductor. The gasket presses around the pierced position of the cable, inside the shell Silicone grease overflows. When the torque reaches the set value, the nut torque mechanism falls off, the main line and the branch line are connected, and the waterproof performance and electrical effect reach the parameters required by the standard
Advantage:
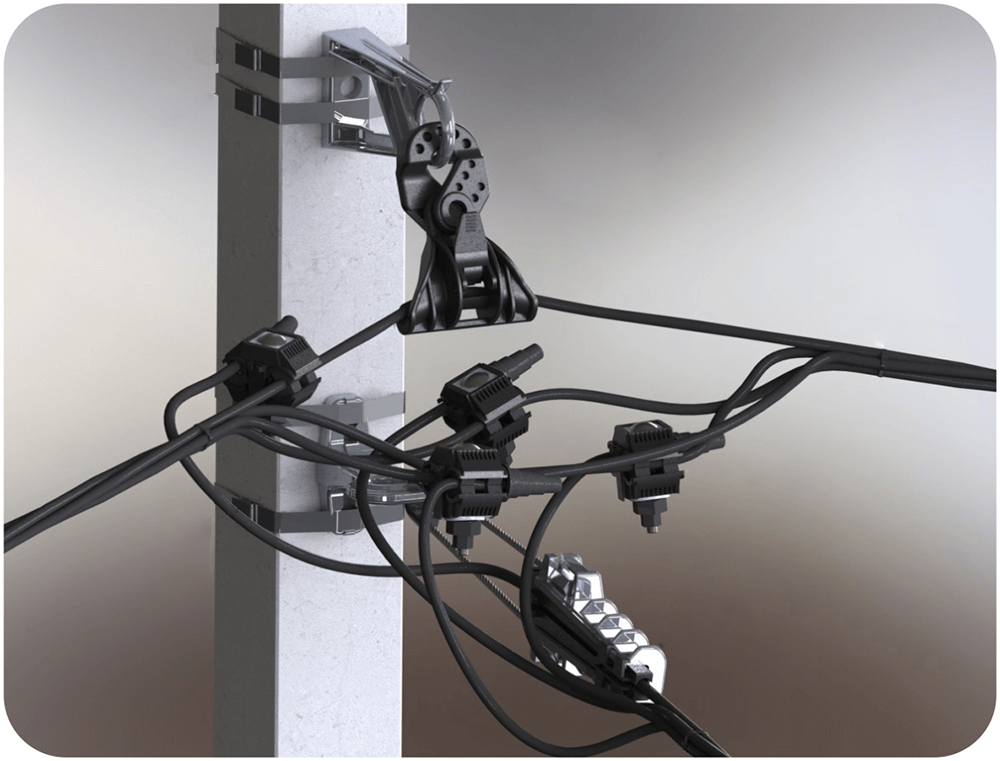
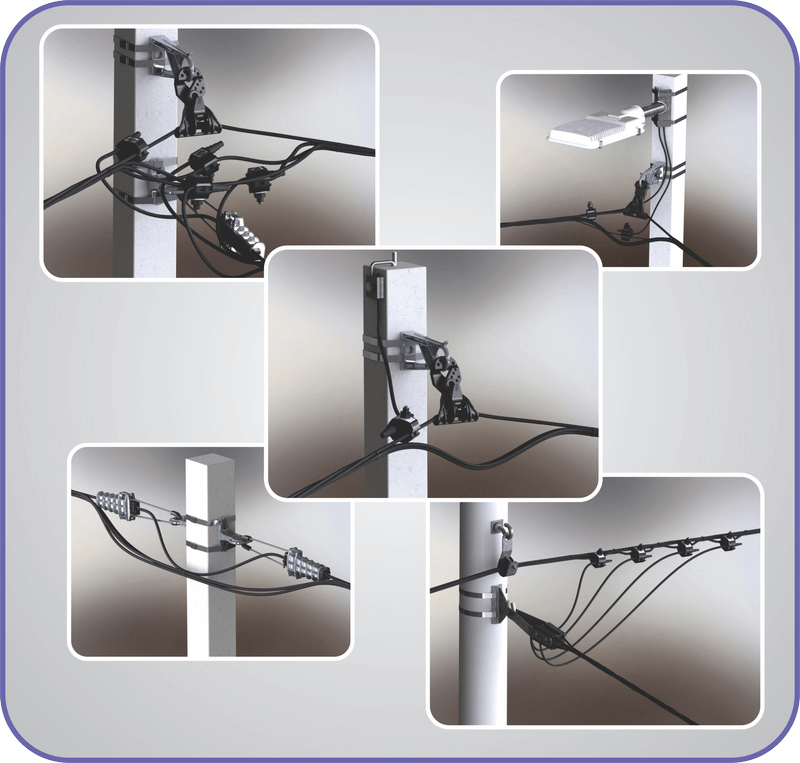
It has the characteristics of easy installation, low cost, safe and reliable maintenance-free. The cable branch can be made without cutting off the main cable or stripping the insulation layer of the cable. The connector is completely insulated, and it can be live-operated. It can be branched at any position of the cable. There is no need to use terminal boxes and junction boxes. And the joint is resistant to distortion, shockproof, waterproof, anti-corrosion and aging. The use of insulation piercing clamps for cable branching has obvious comprehensive benefits and is more cost-effective than the previous traditional connection methods
Installation method:
Installation of single-screw insulation piercing clamp
1. Adjust the nut of the puncture line clamp to the proper position, and insert the branch line into the branch line cap cover.
2. Insert the main line. If the main line has two layers of insulation, a certain length of outer insulation should be stripped at the connection position.
3. Put the main and branch lines in the proper position and keep them parallel. First, tighten the nut by hand to fix the clamp.
4. Tighten the nuts evenly with a sleeve wrench of the corresponding size until the top end breaks off and the installation is completed.
Installation of twin-screw insulation piercing clamp
1. First unscrew the wire clamp and insert the main wire into the main wire groove. Do not twist the main wire with the knife ruler. Pay attention to whether the wire diameter range corresponds to this wire clamp.
2. Put the branch line into the branch line slot. The precautions are the same as above.
3. Tighten with a socket wrench. Disable the open-end wrench.
4. Note that the two nuts should be screwed down synchronously in sequence.
5. When tightened to a certain strength, the constant torque nut is broken and the installation is completed
Classification:
1. Insulation piercing clamps can be divided into 1KV, 10KV, 20KV insulation piercing clamps according to voltage classification.
2. According to the function classification, it can be divided into ordinary insulation piercing clamps, electrical grounding insulation piercing clamps, lightning protection and arc insulation piercing clamps, and fire insulation piercing clamps
Technical specification
|
Dimensions |
|
|
Main Cable Line: |
16-95mm² |
|
Branch Cable Line: |
4-35(50)mm² |
|
Norminal Current: |
132A |
|
Piercing Depth: |
2.5-3.5mm |
|
Features |
|
|
Bolt: |
M8*70 |
|
Mechnical |
|
|
Tightening Torque: |
20Nm |


0086-13968775537(24x7)

Well-trained & experienced staff are to answer all your inquiries.

We are the manufacturer with a brilliant team work team work.

we provide small products to check quality for you, just you pay the express fees